Import Server
If you already have a FiveM server and want to move it to Raznar, you can upload the old data to the new server. This guide focuses on moving:
- Resource data (the contents of the
resourcesfolder) → to/home/container/resources - txAdmin data (the contents of the
txDatafolder) → to/home/container/txData
1. Prepare the Old Data
From the old hosting, prepare two archives. Zip the contents of the folders, not the folders themselves — so that when you Unarchive, the files land directly in the target folder without a nested folder (for example resources/resources).
resources.zip→ the contents of theresourcesfolder (all files and folders inside it, without theresourcesfolder itself, and without the built-incfx-server-data).txdata.zip→ the contents of thetxDatafolder (all files and folders inside it, without thetxDatafolder itself).
Uploading through the File Manager (Control Panel) is capped at 100 MB. For larger archives, separate out large resources and upload them one by one, or use SFTP so the upload process is faster and more stable — read How to Upload/Download Files via SFTP for the steps.
2. Upload Resources
- In the Game Panel, stop the server first through the Console menu → Stop.
- Open the Files menu, then go into the
/home/container/resourcesfolder. - Upload
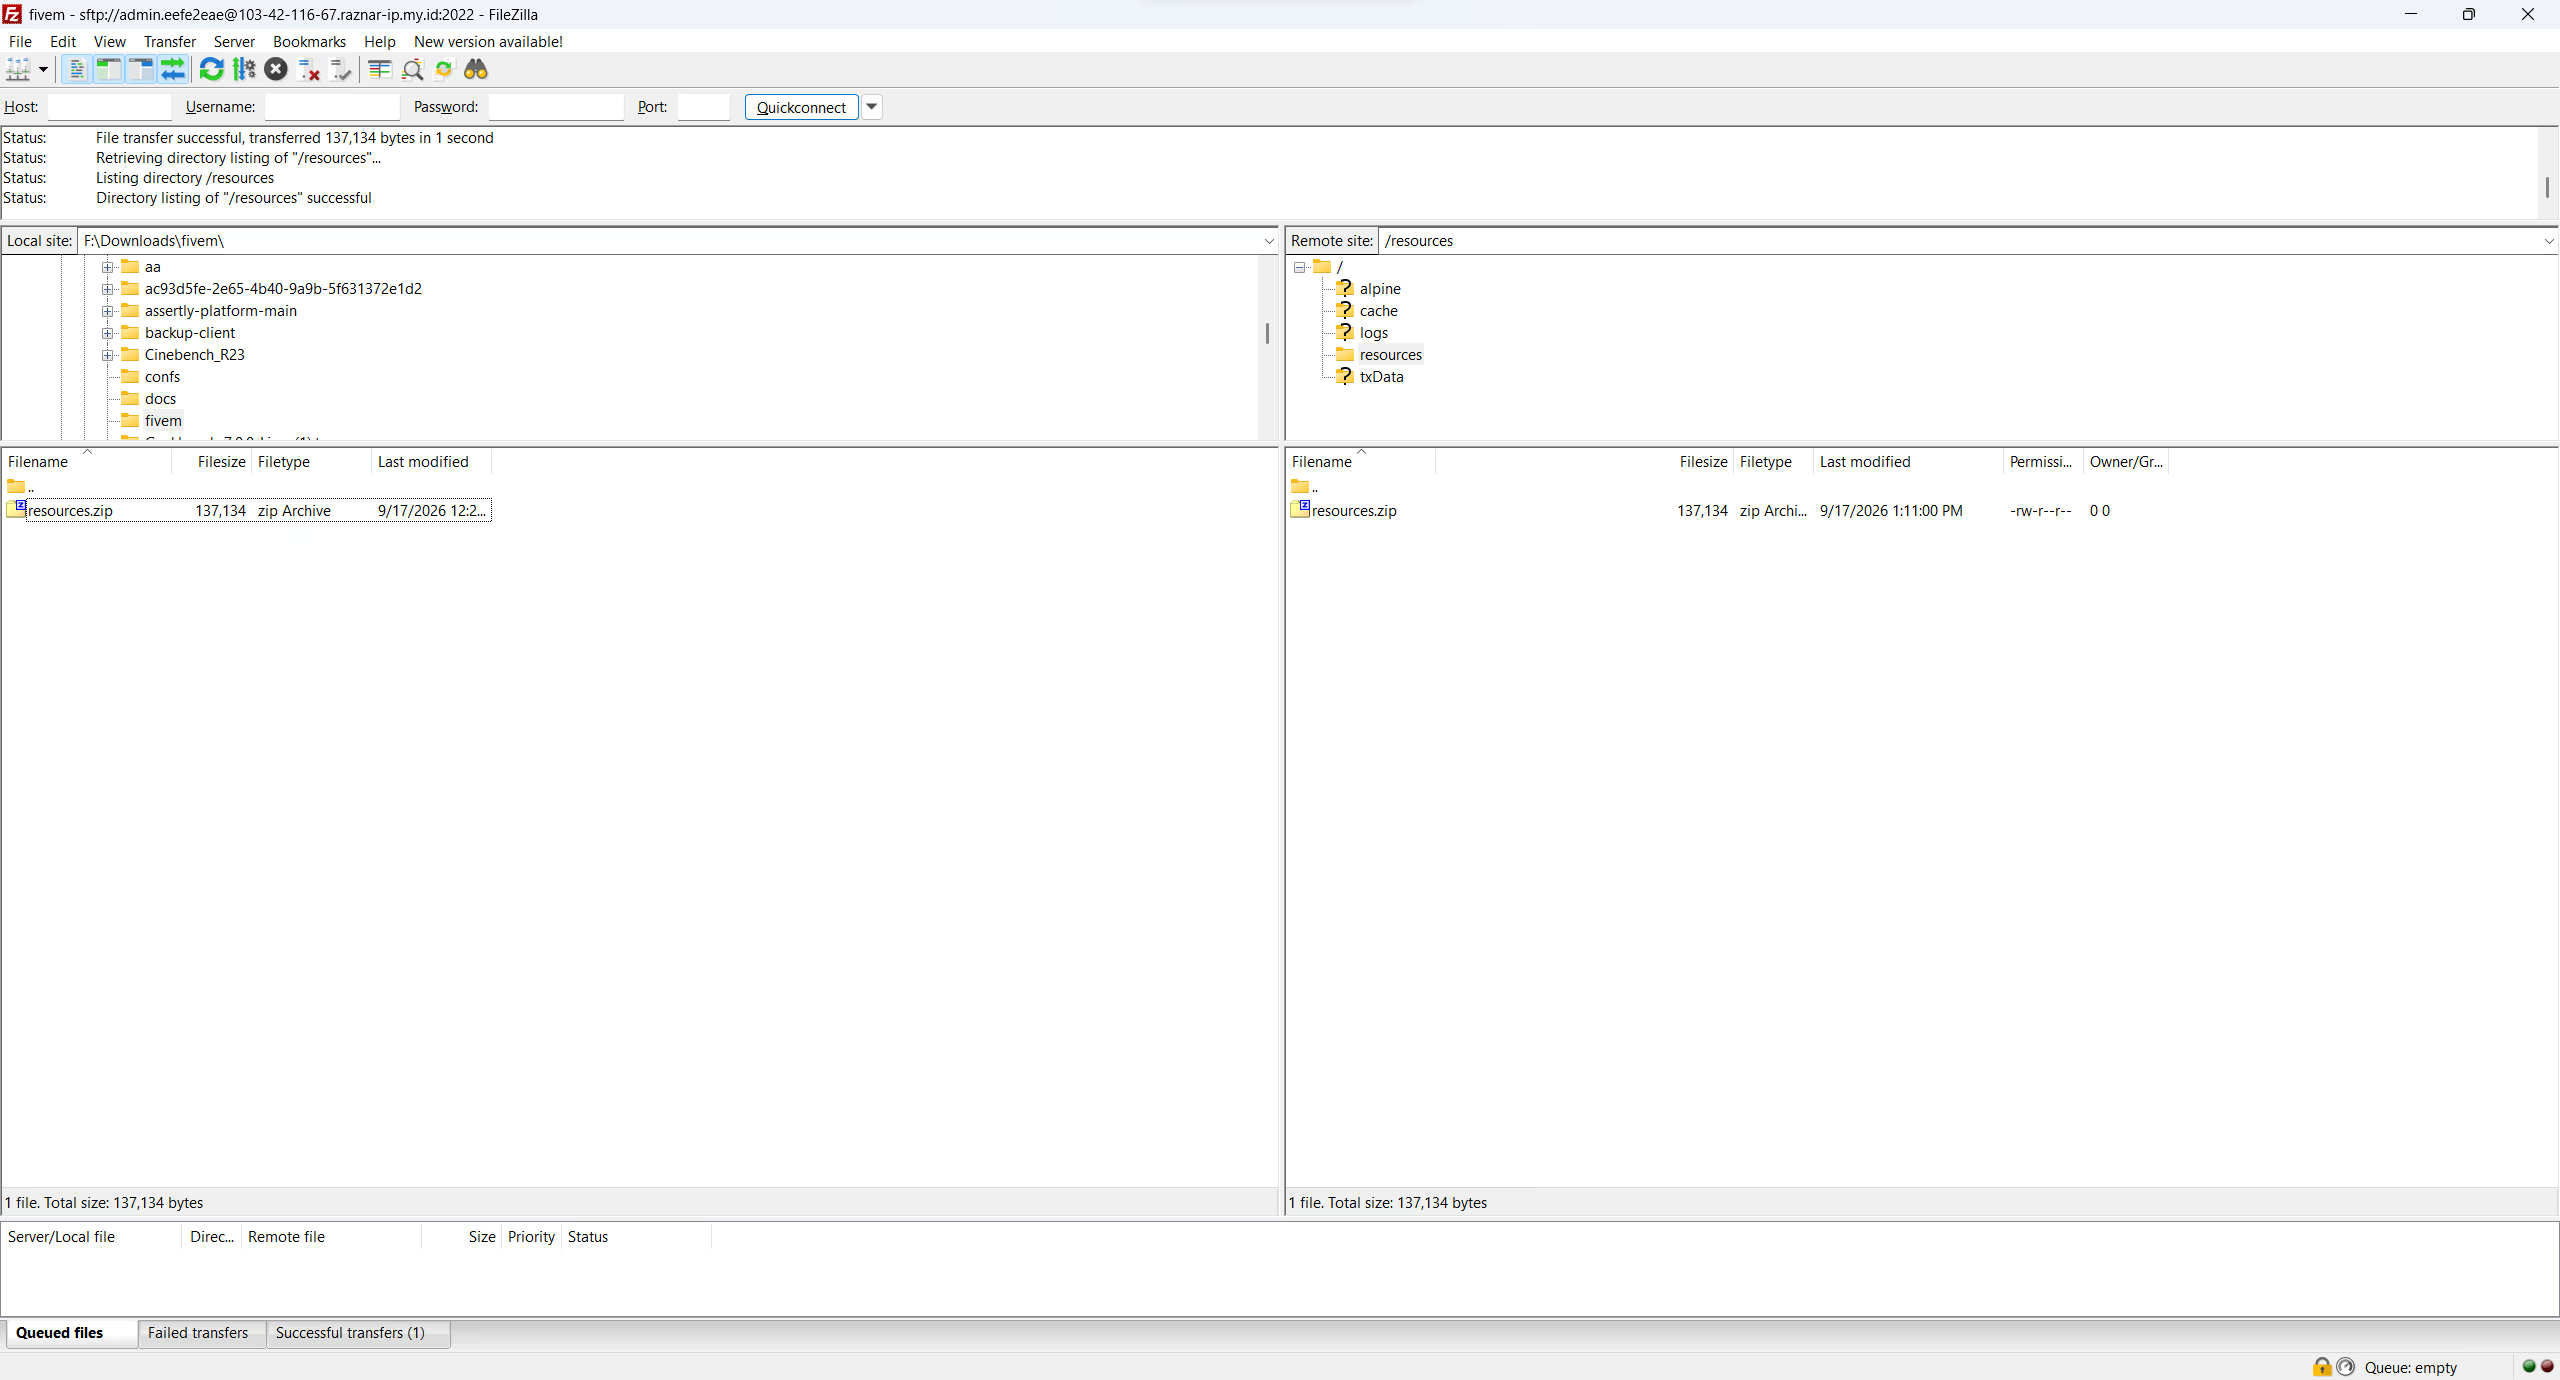
resources.zipinto that folder:- Through the File Manager (the Files menu) if it is under 100 MB.
- Through SFTP if it is more than 100 MB, because uploads in the Control Panel are capped at 100 MB. Guide: How to Upload/Download Files via SFTP.
- Once finished, click the three-dot icon on the
resources.zipfile and choose Unarchive.
3. Make Sure server.cfg Runs the Resources
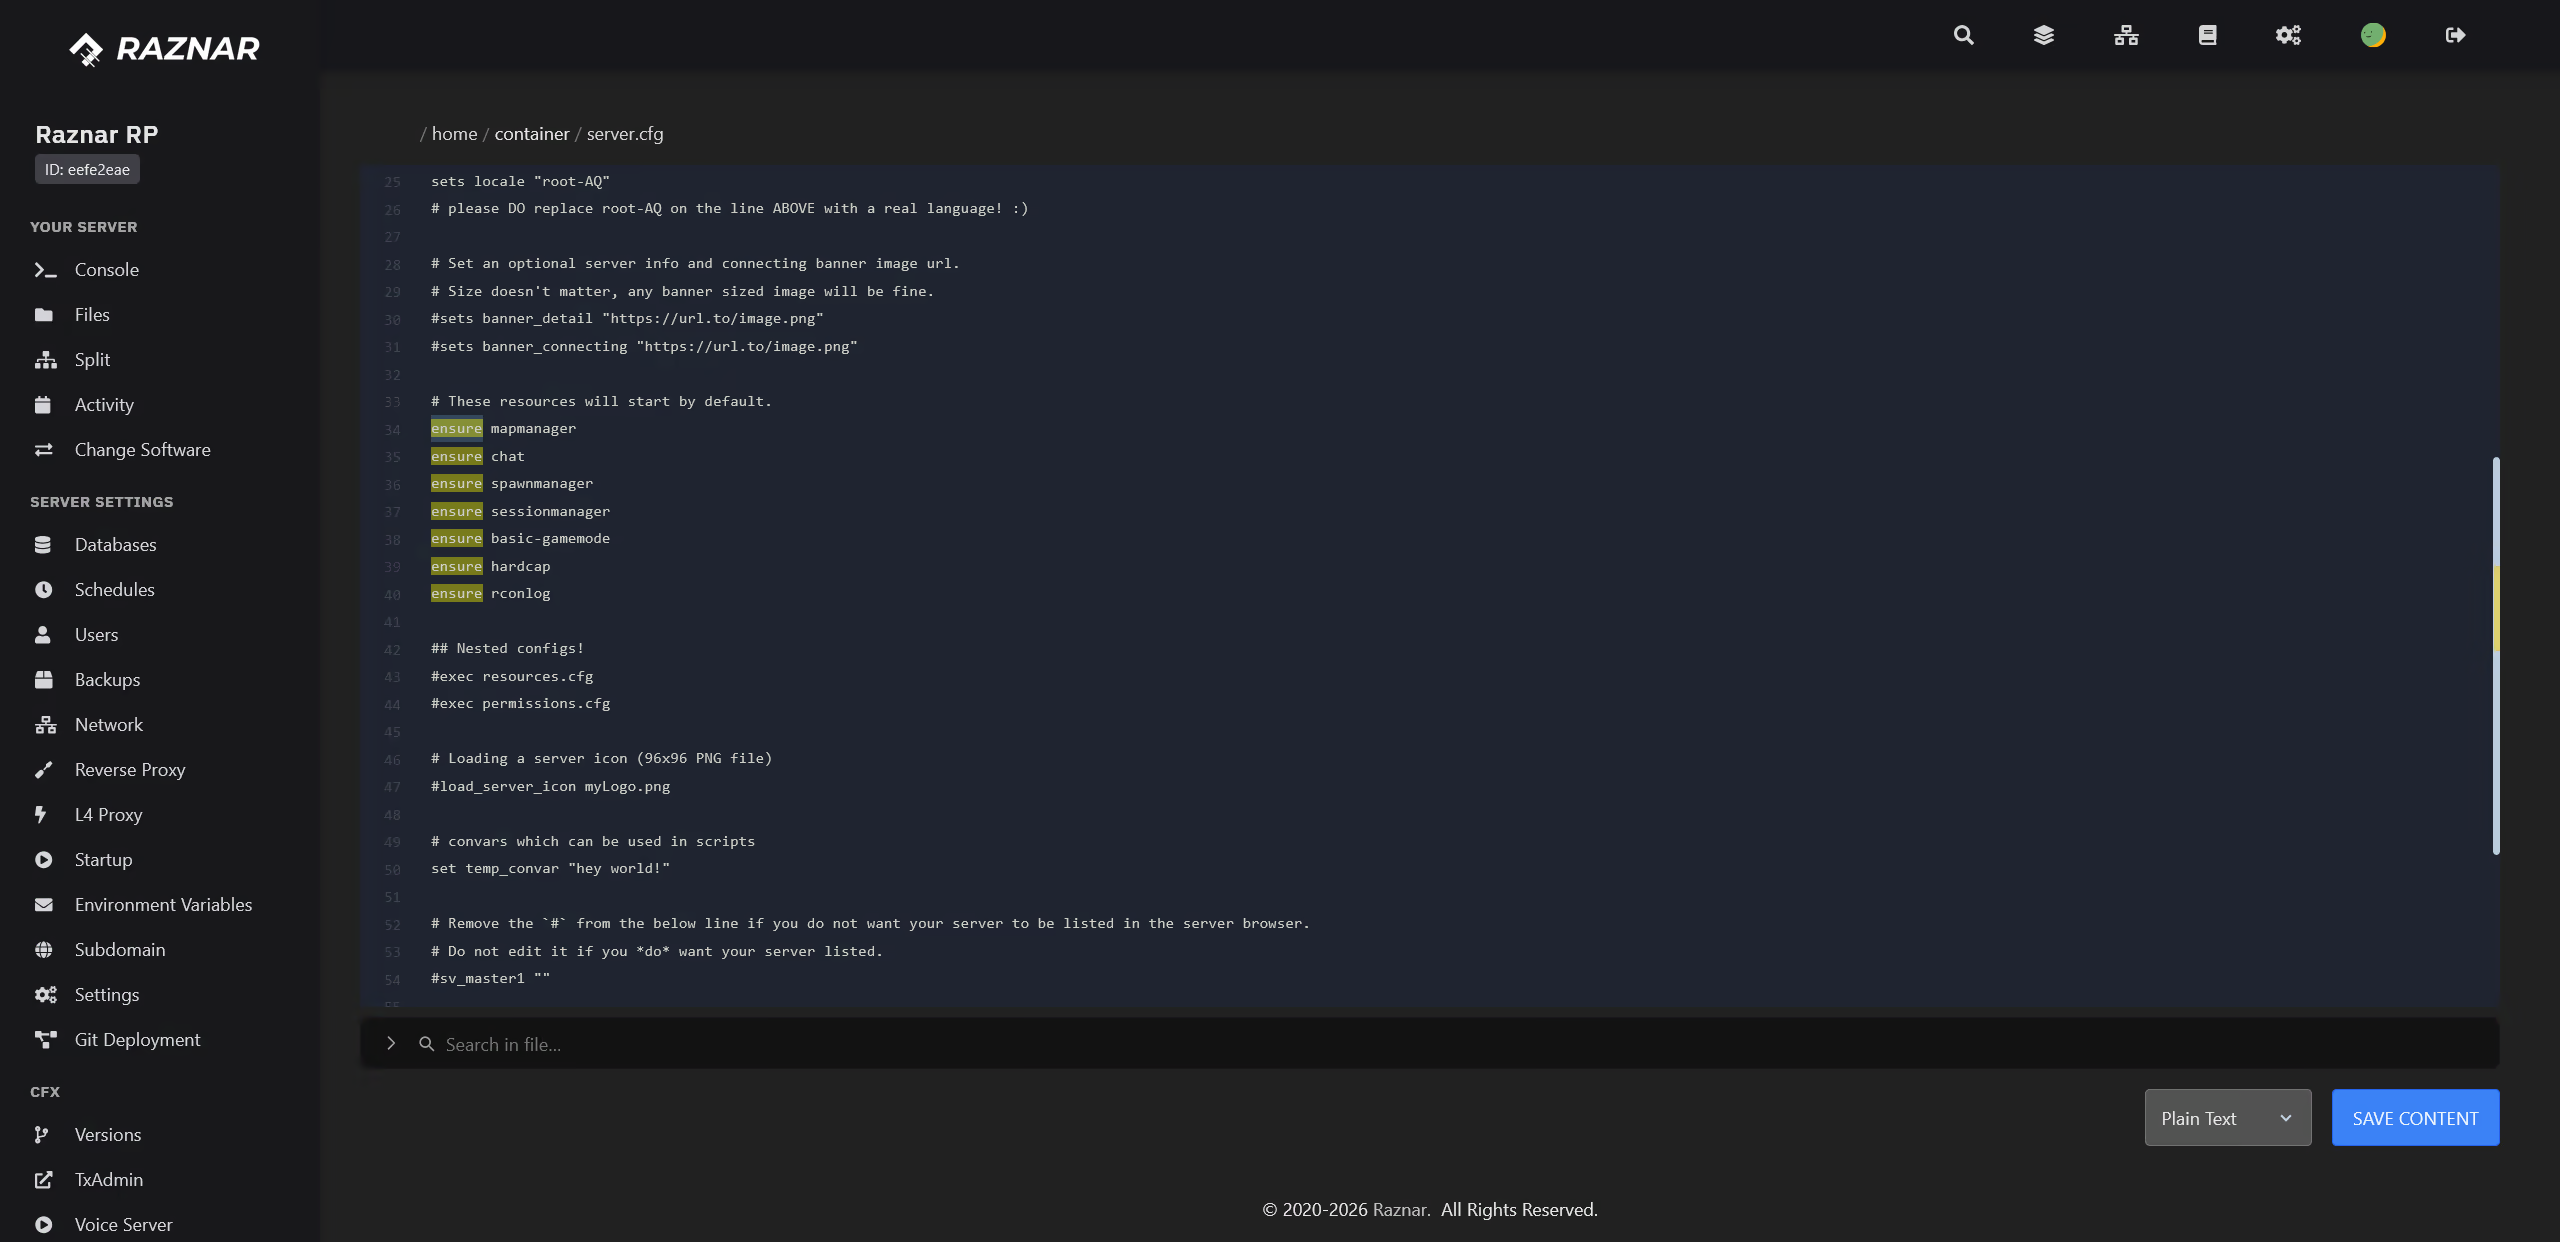
- Open
server.cfg. - Make sure all resources are
ensured, for example:
ensure mapmanager
ensure chat
ensure spawnmanager
ensure sessionmanager
ensure [pma-voice]
- Save the changes.
4. Upload txAdmin Data
- Go back to the Files menu.
- Go into the
/home/containerfolder. If it doesn't exist yet, create atxDatafolder (click New Folder), then go into/home/container/txData. - Upload
txdata.zipinto that folder:- Through the File Manager (the Files menu) if it is under 100 MB.
- Through SFTP if it is more than 100 MB, because uploads in the Control Panel are capped at 100 MB. Guide: How to Upload/Download Files via SFTP.
- Once finished, Unarchive
txdata.zipin that folder.
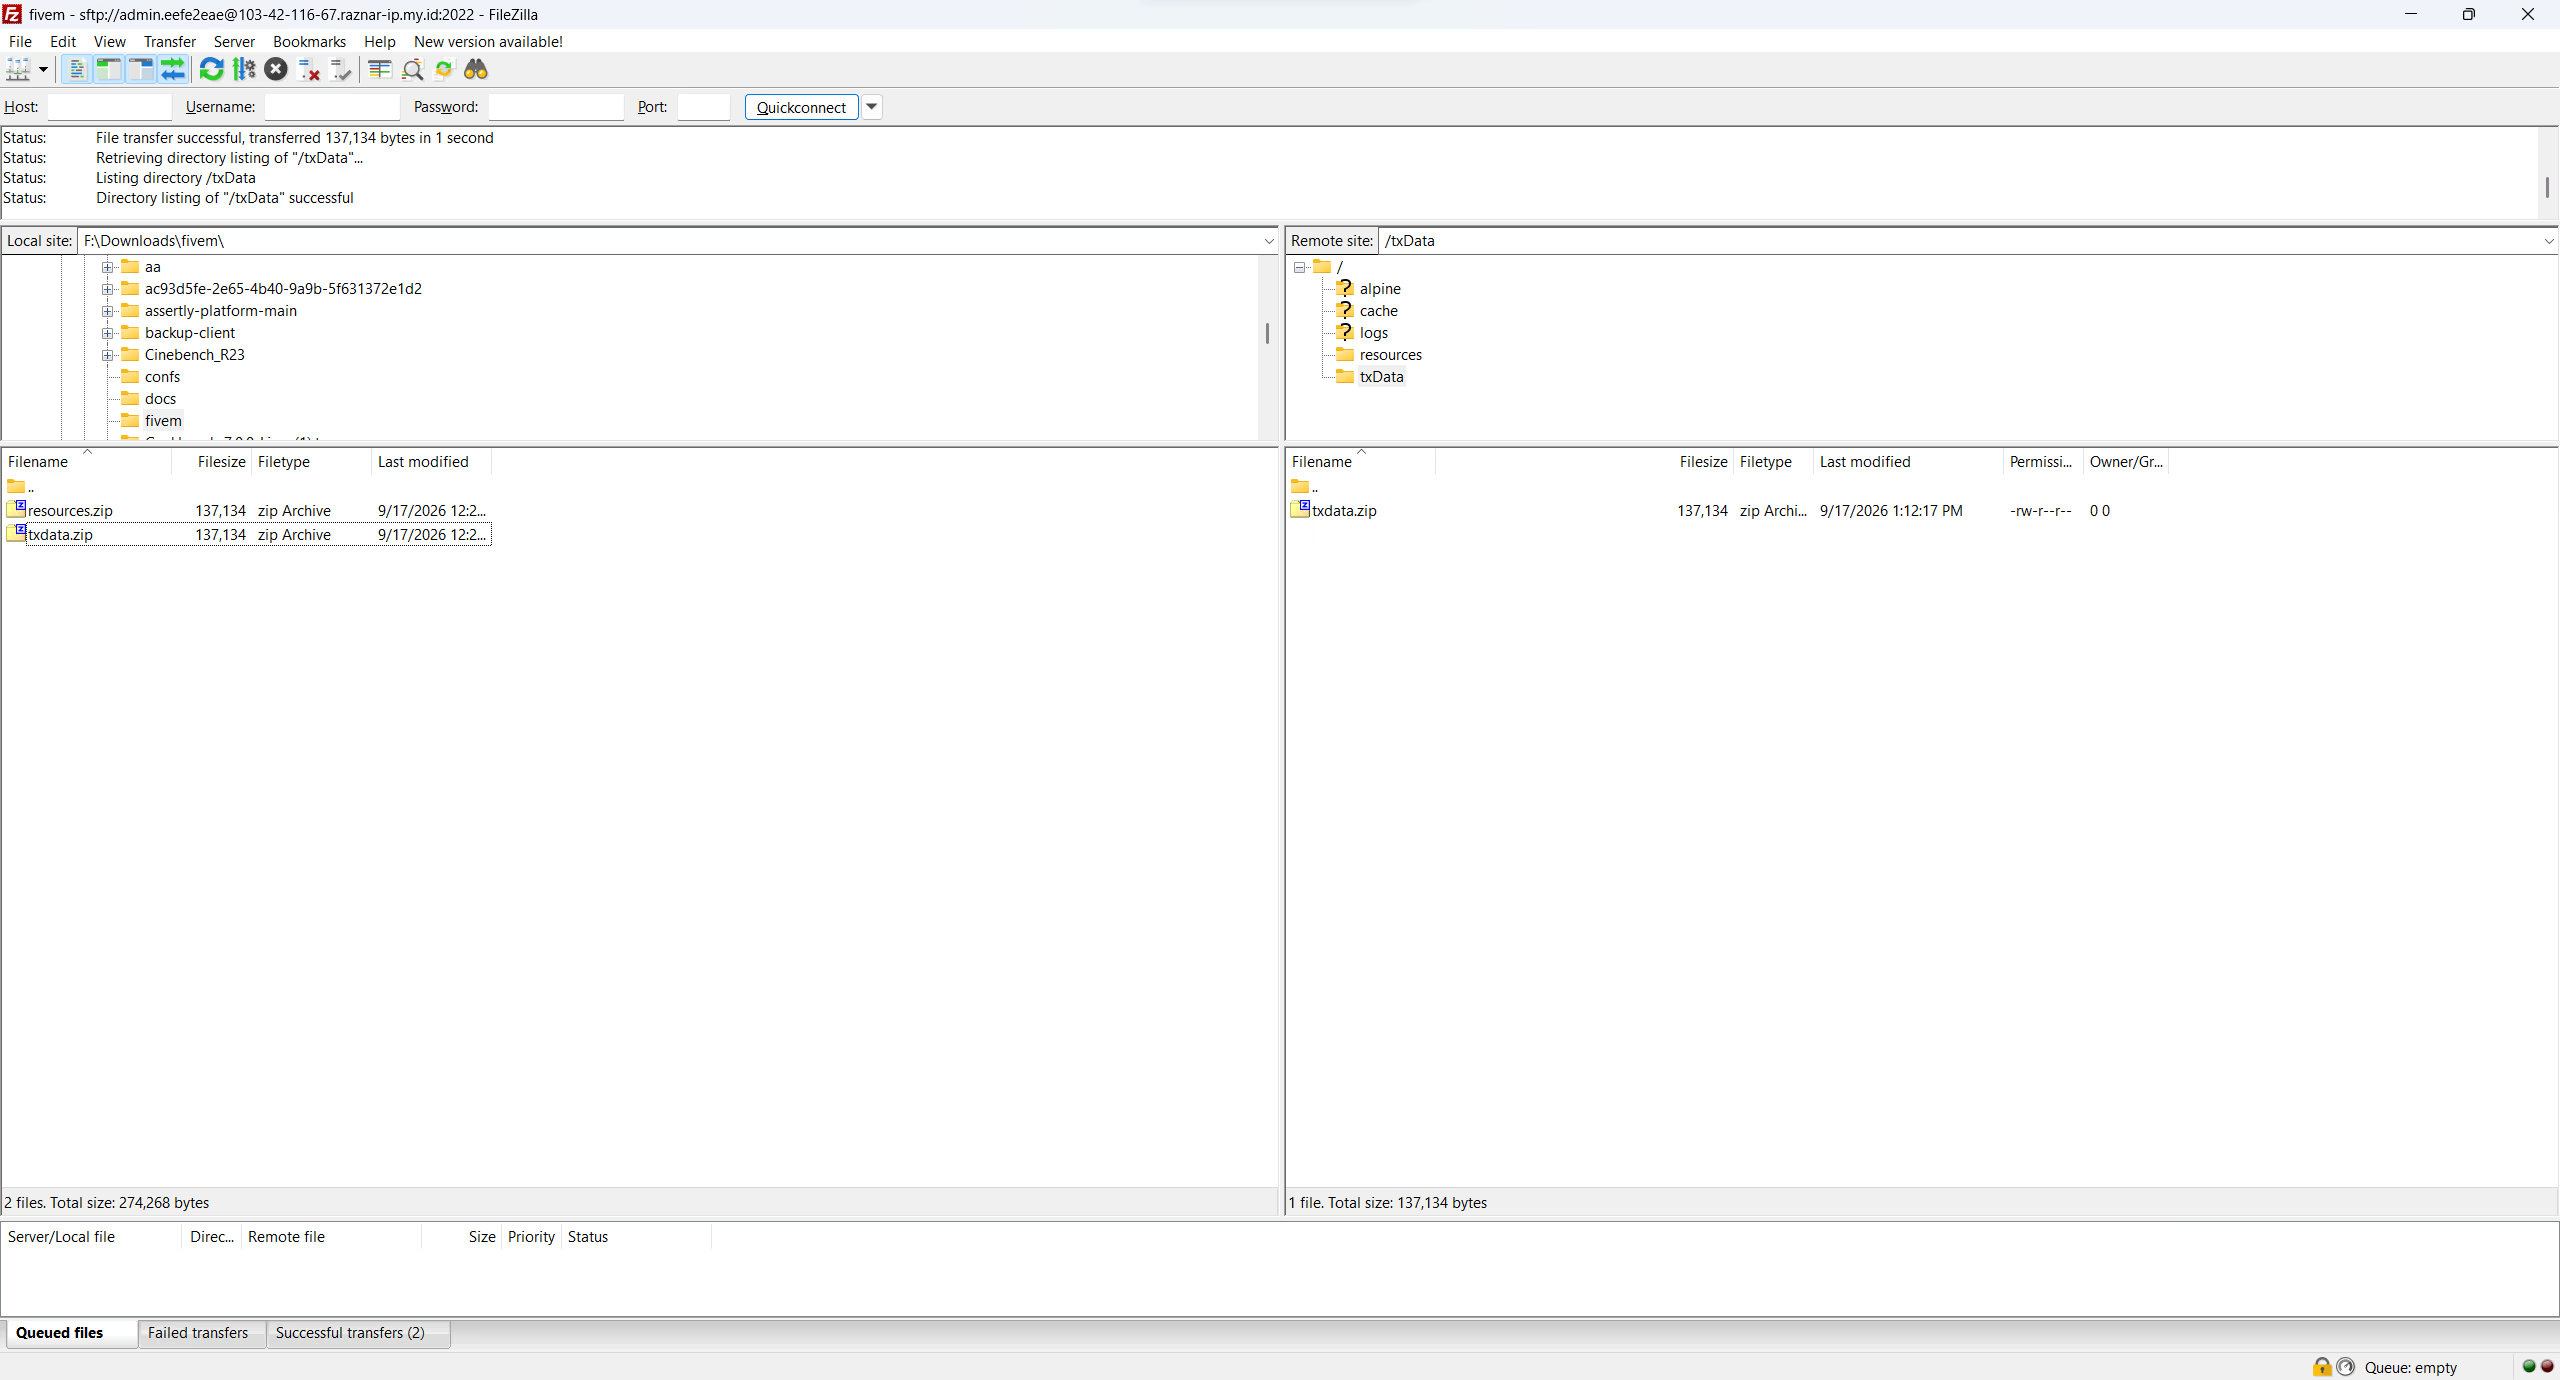
The /home/container/resources and /home/container/txData folders are two different locations. Make sure the contents of the resources are uploaded into the resources folder, and the contents of txData are uploaded into the txData folder. Zip the contents of the folders (not the folders themselves) to avoid nested folders such as resources/resources or txData/txData.
In txAdmin → Settings → FXServer, change Server Data Folder to /home/container. This folder is the folder that contains the resources folder (and is also where server.cfg lives).
If you don't point it there, txAdmin won't recognize your resources and old data. If needed, use the Reset button next to that field to return to the Setup page.
5. Import Database (Optional)
If the old server used a database, first export the database from the old hosting (.sql), then import it into a new database on Raznar. Create the database through Setup Database.
6. Run the Server
- Open the Console menu.
- Click Start.
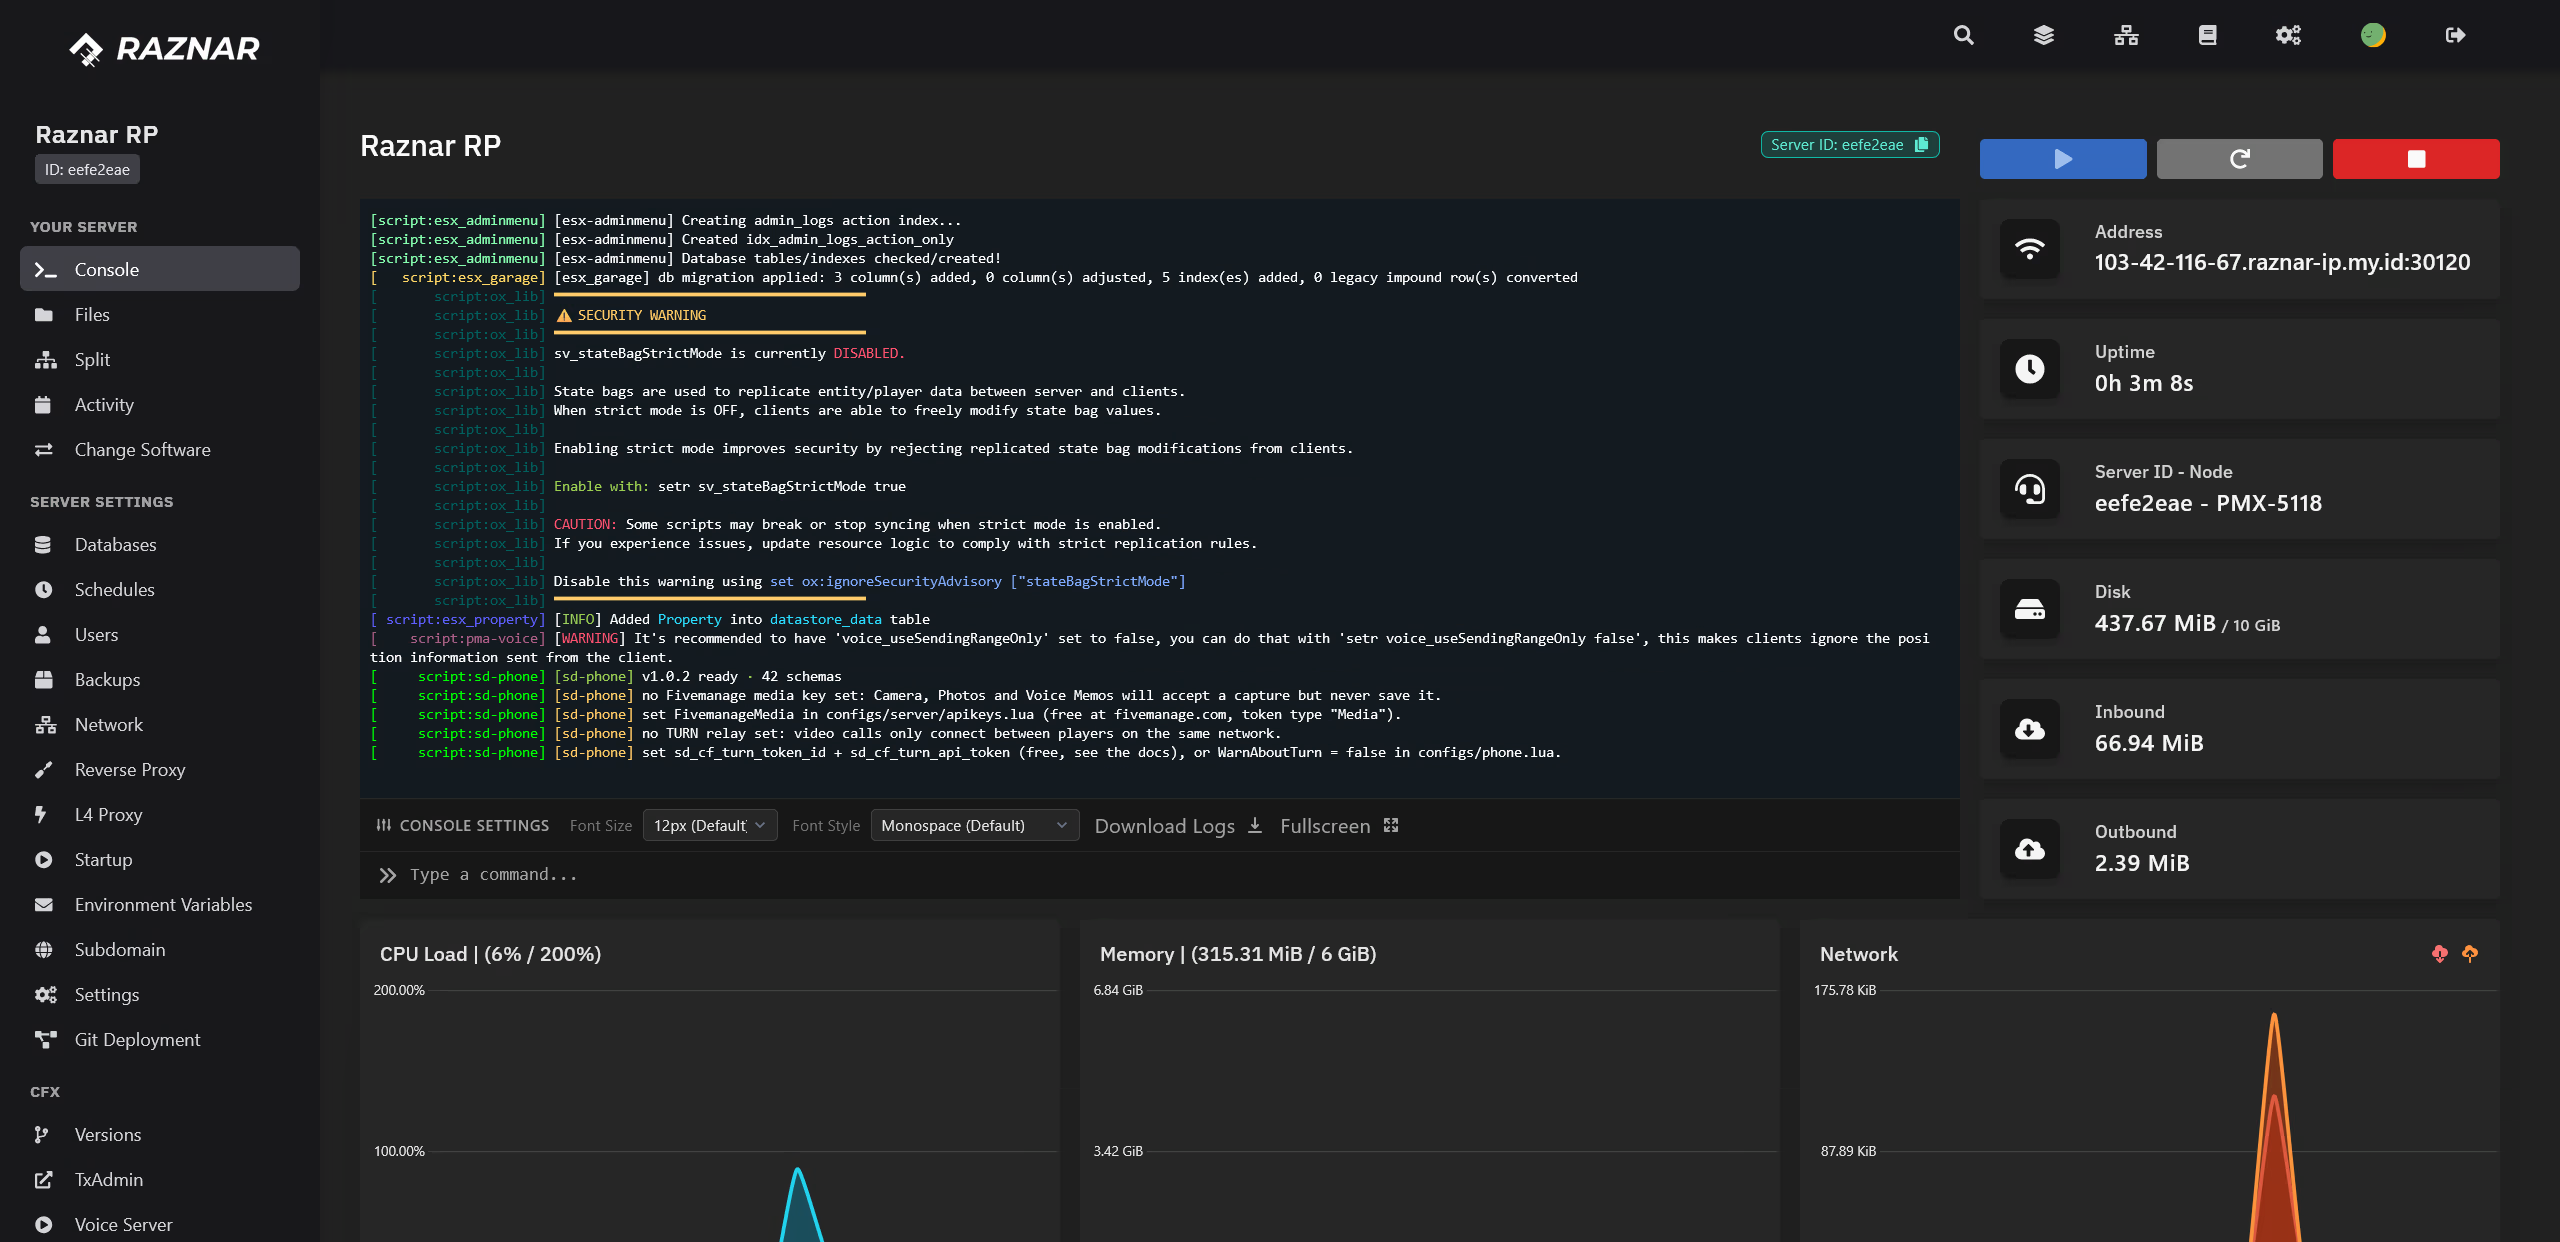
- Check the log to make sure the resources load without errors and txAdmin recognizes the old data.
- Connect to the server and make sure everything runs normally.
Still have a resource erroring? Double-check the folder names in resources (they must match what is ensured) and make sure dependencies such as oxmysql are installed.