How to Create a Cache Proxy (VPS)
This version is for you who use the VPS Panel. The cache proxy is created from the CFX Cache Proxy menu, then you copy its hostname & secret key.
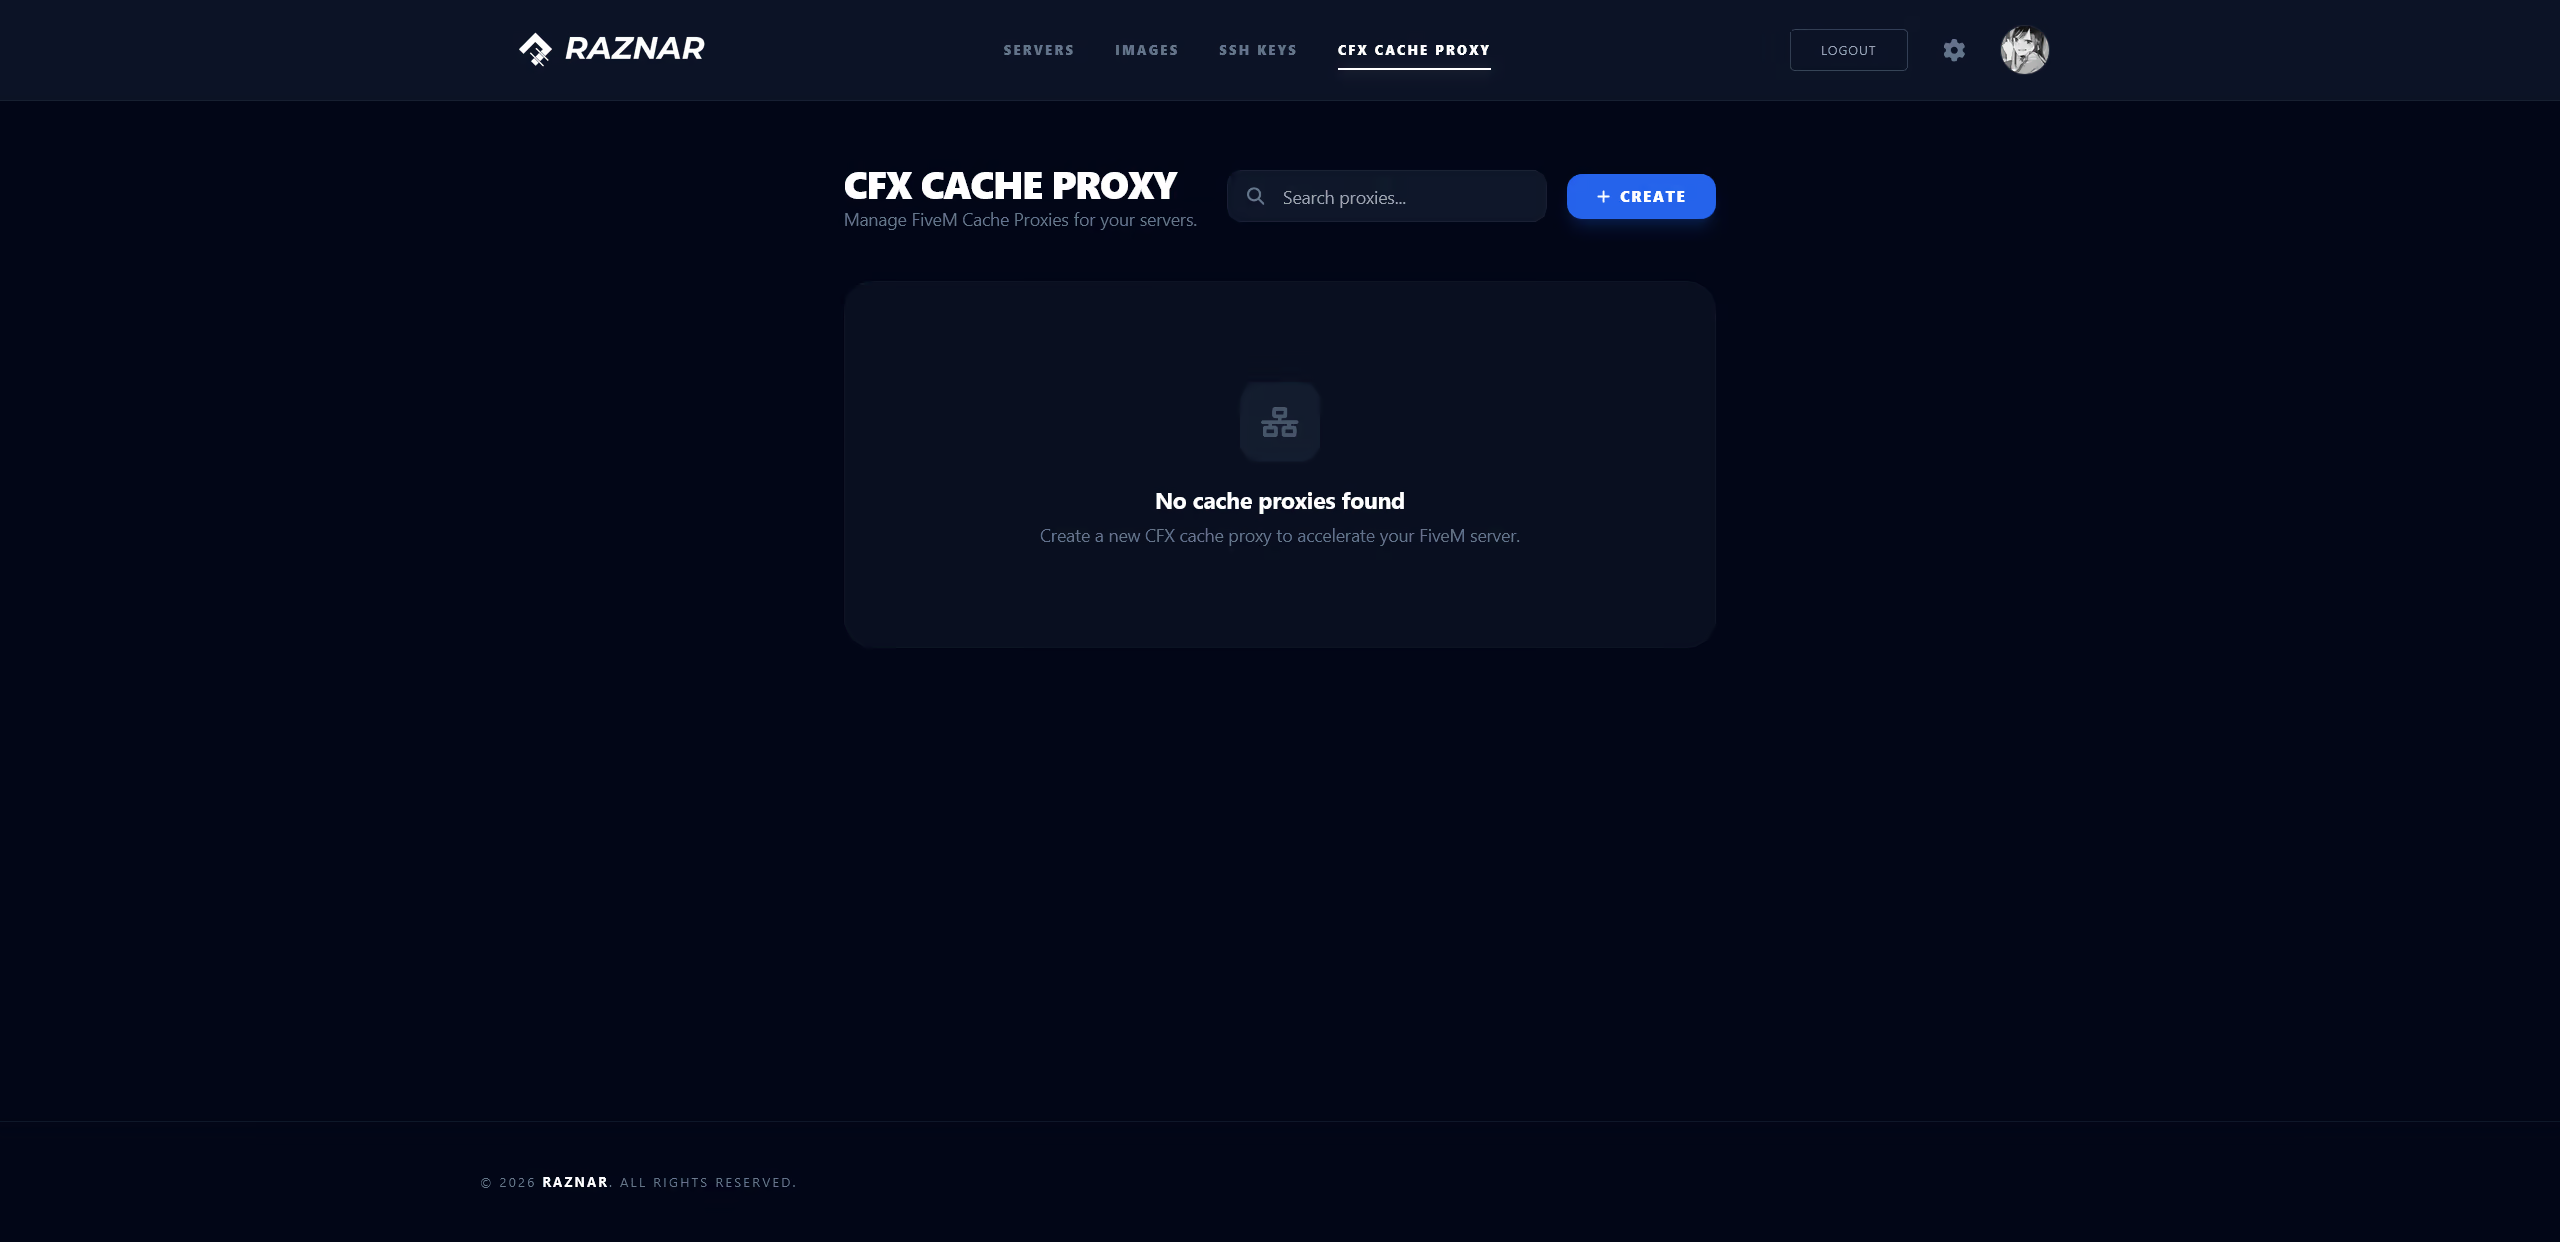
1. Open the CFX Cache Proxy Menu
- Log in to the Raznar VPS Panel.
- On the navigation bar, click CFX Cache Proxy.
- Click the Create button.
2. Create a Cache Proxy
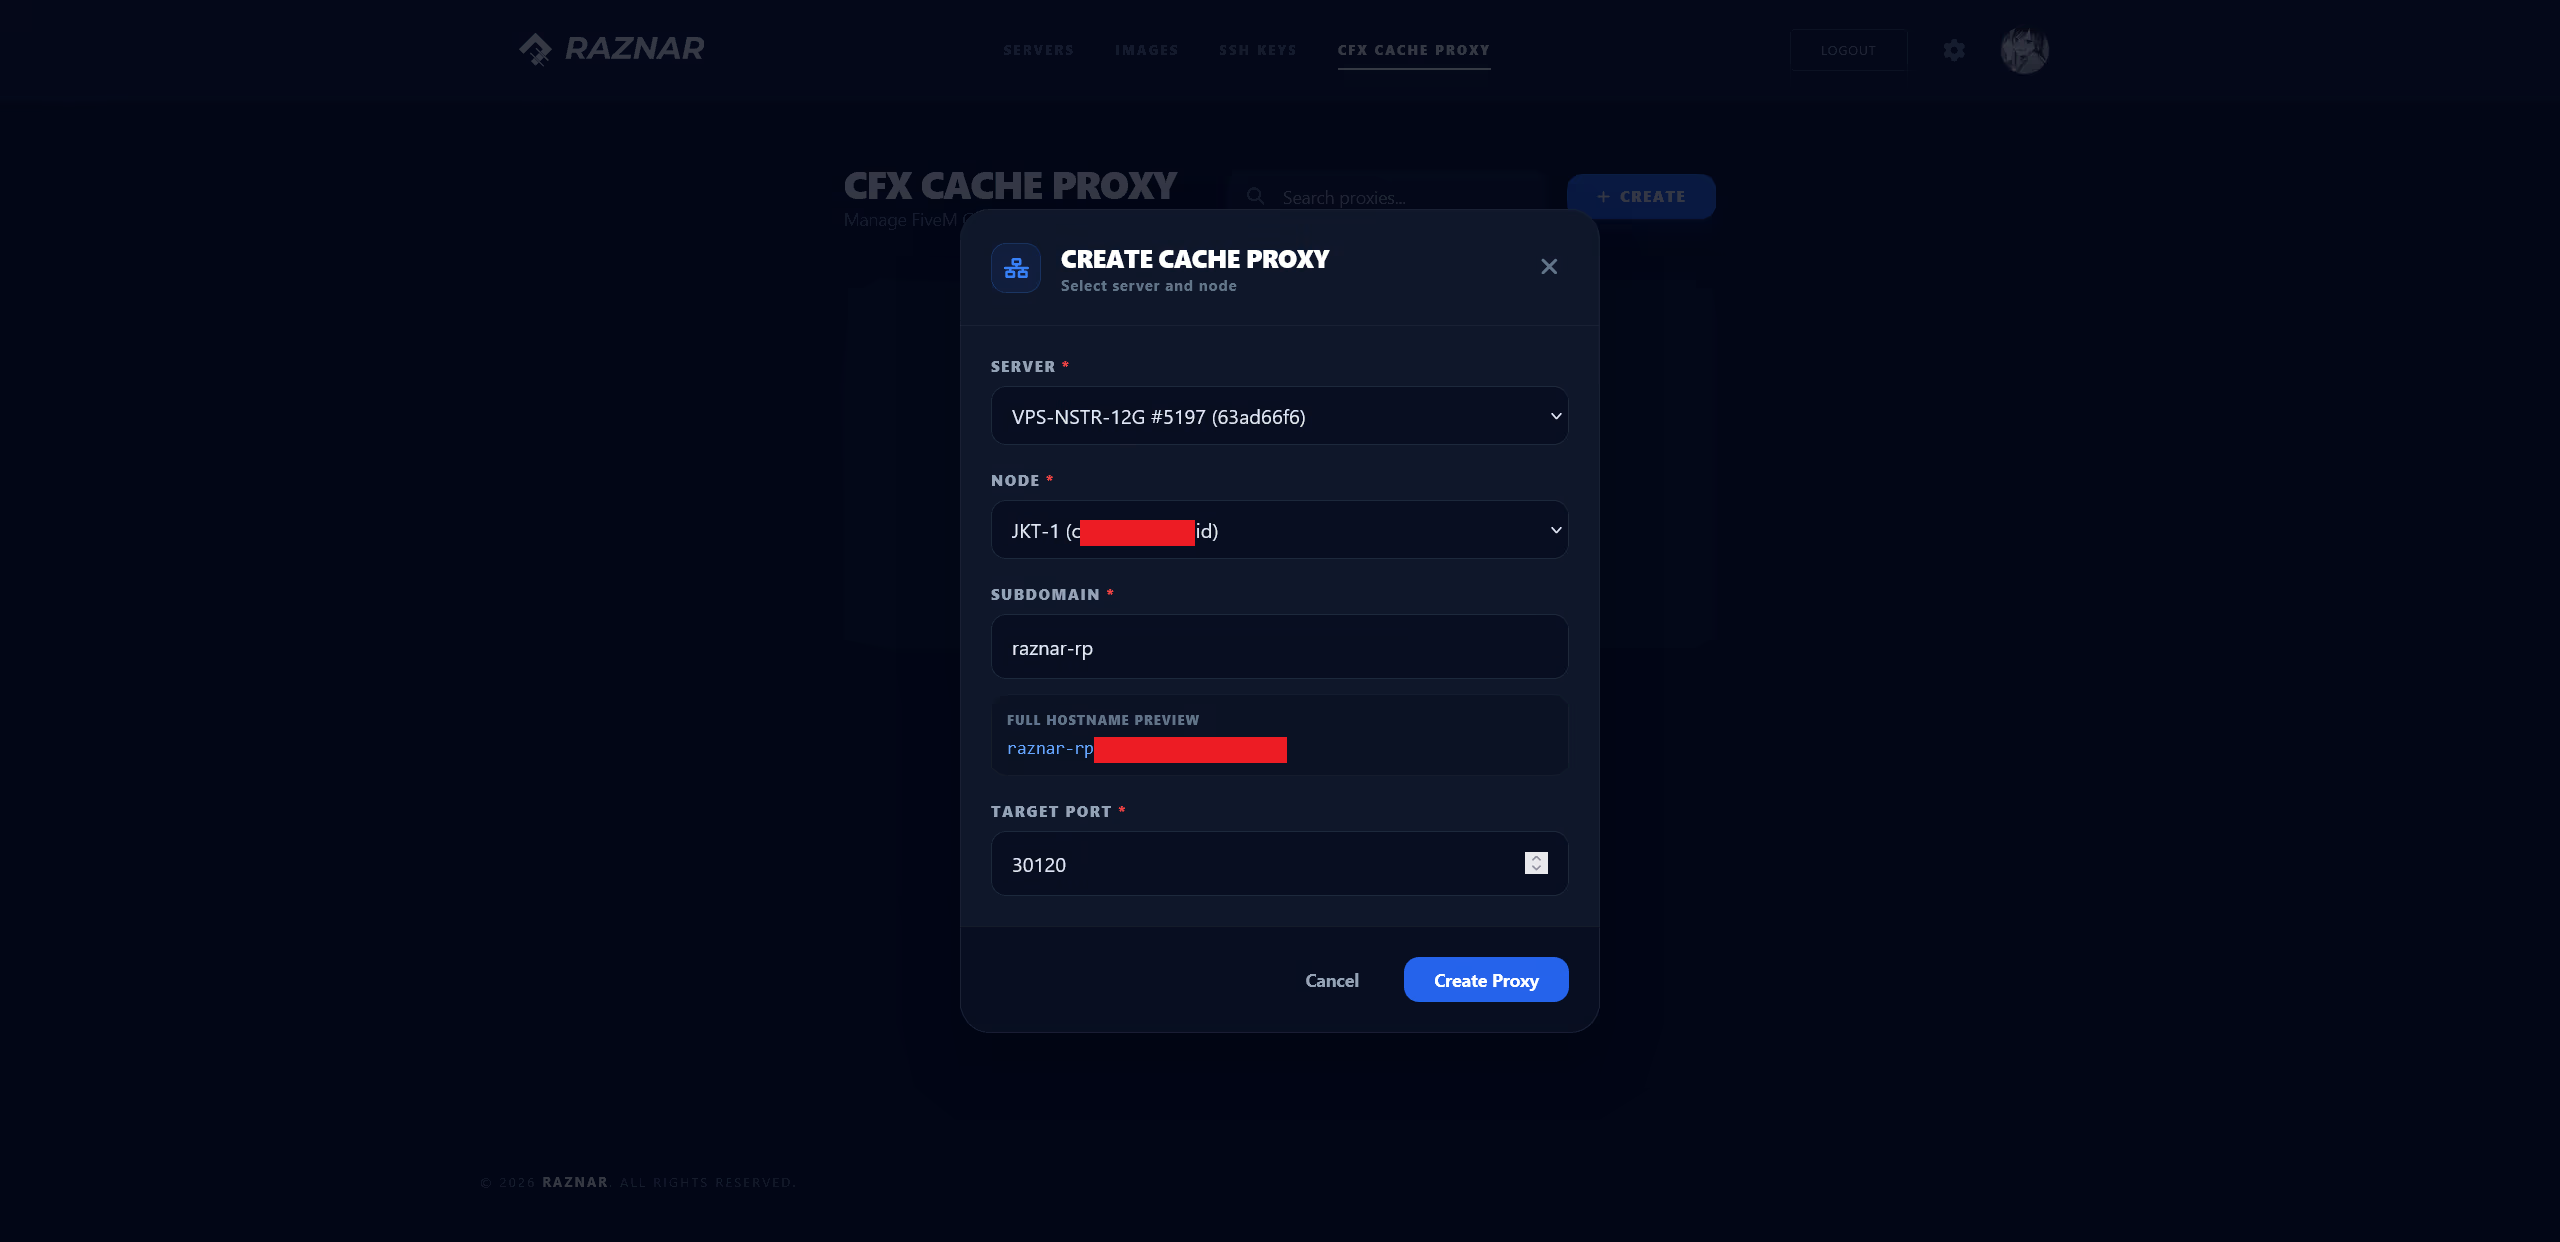
- Fill in the form that appears:
- Server → select the FiveM server you want to accelerate.
- Node → select the proxy node location closest to your players (for example:
Singapore). - Subdomain → a unique name (lowercase letters, numbers, and hyphens). The panel displays a Full Hostname Preview, for example
myserver-a1b2c3d4.cache.raznar.id. - Target Port → the FiveM game server port (default
30120).
- Click Create Proxy.
3. Get the Hostname & Secret Key
- Click the Info button on the proxy card.
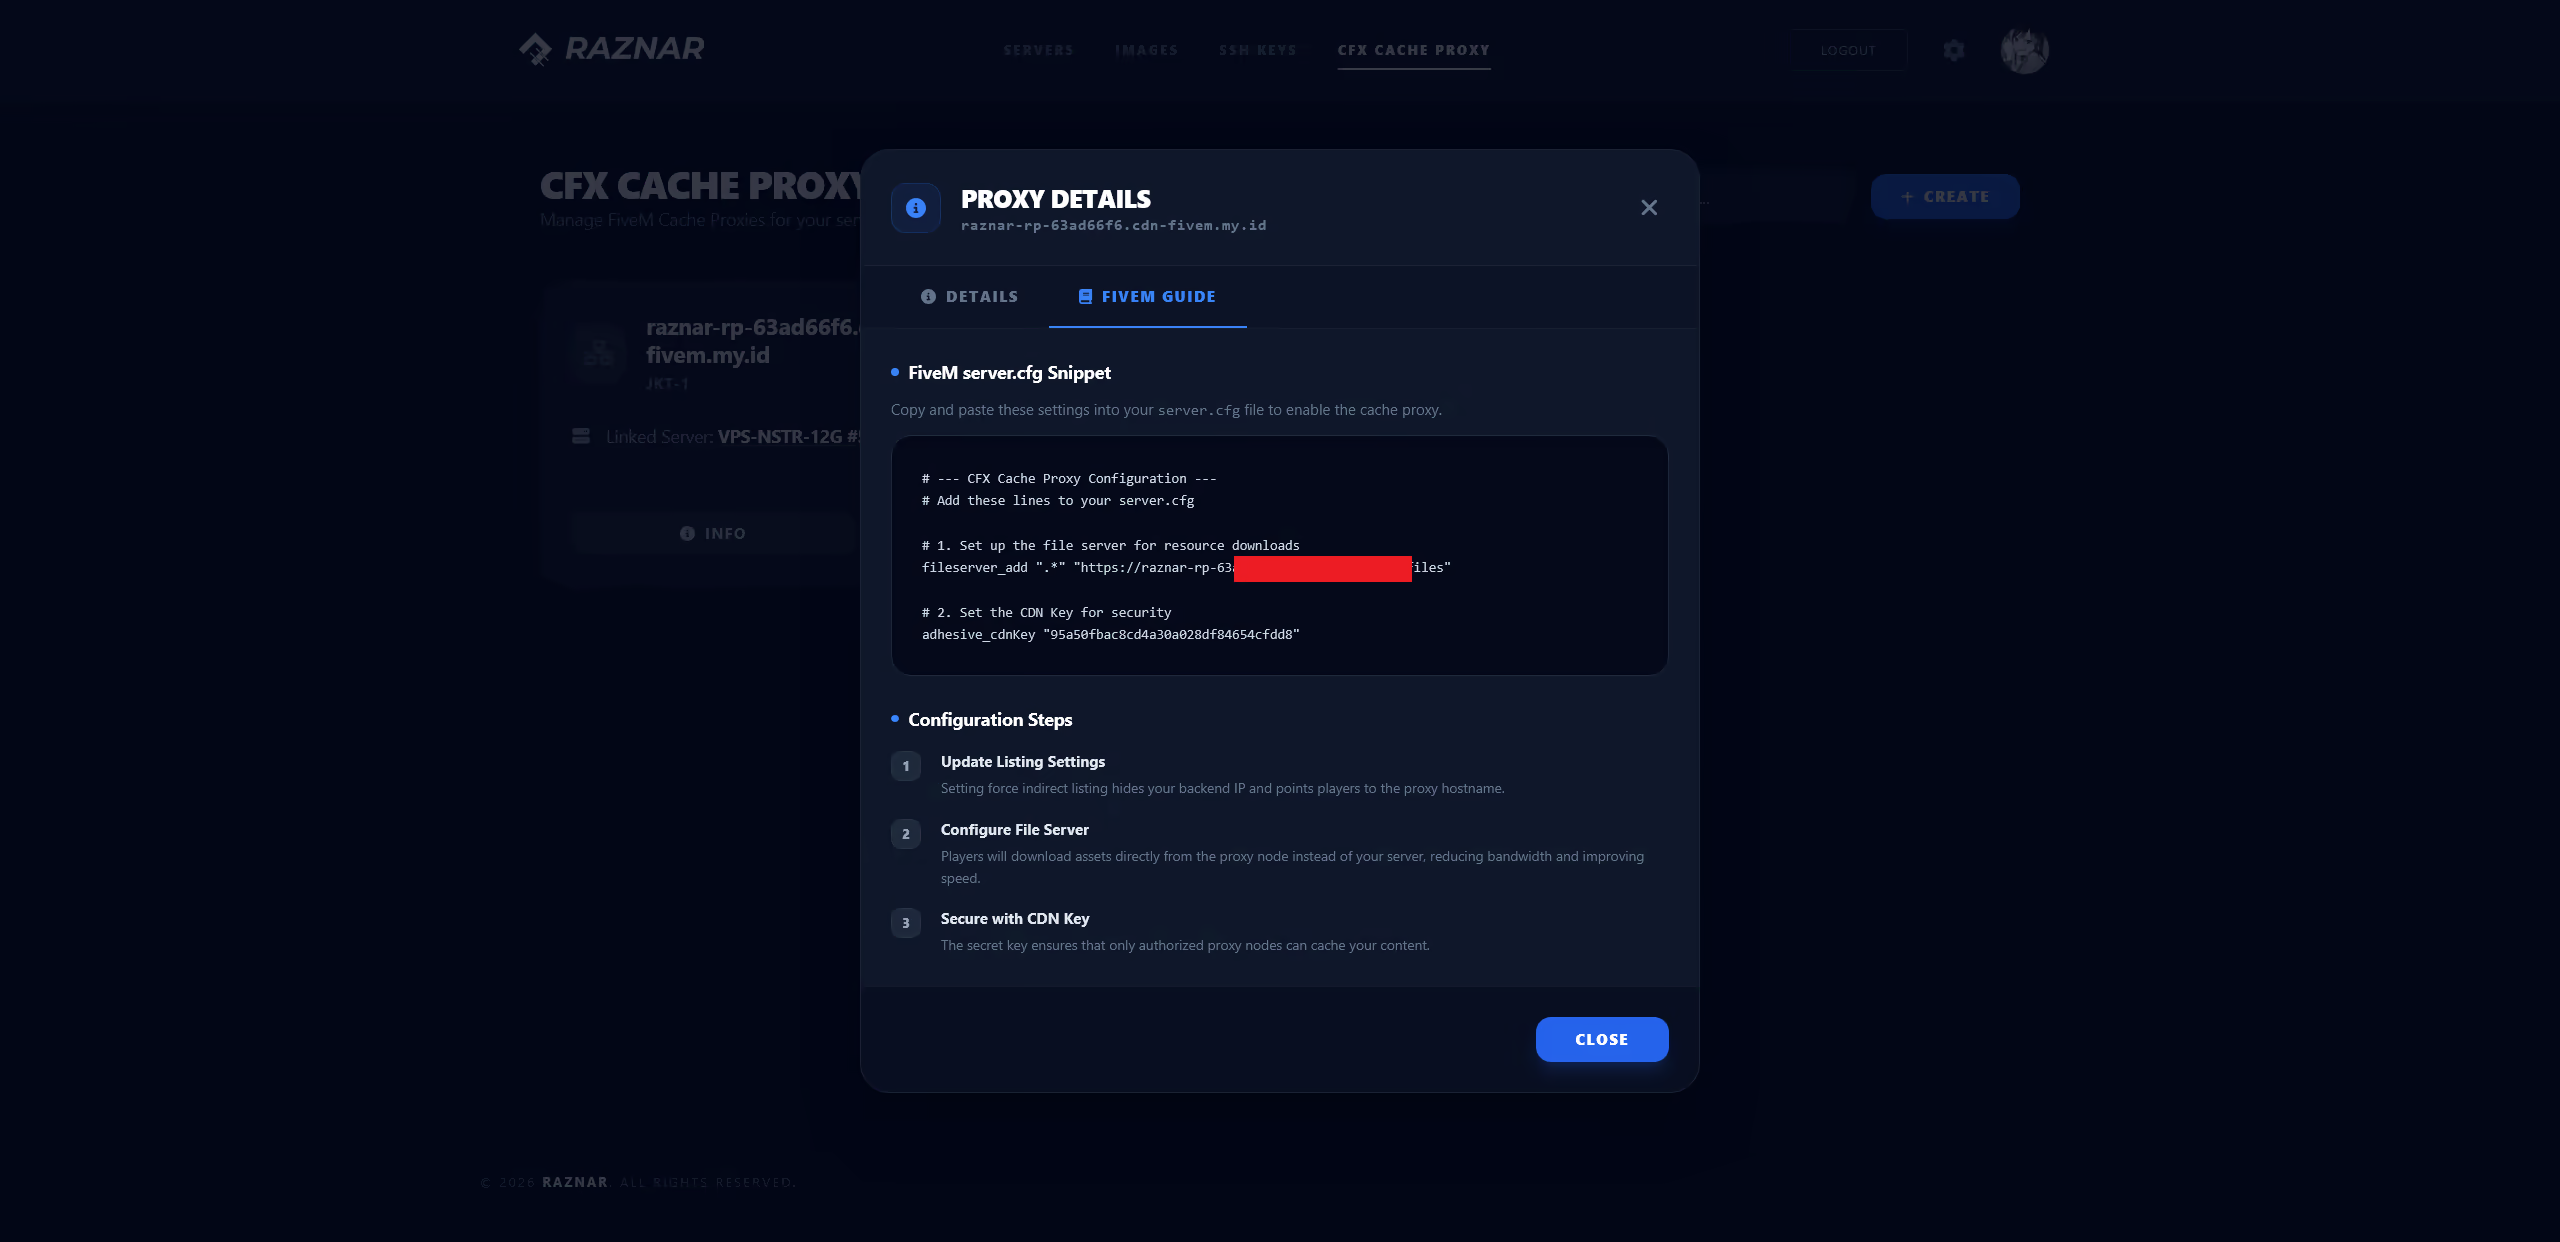
- Copy the following values (use the Copy button):
- Hostname / Proxy URL → your CDN address.
- Secret Key (CDN Key) → the proxy security key.
- Target Port → the port that is forwarded to the server.
- The FiveM Guide tab shows a ready-to-use snippet for your
server.cfg.
note
A single server is usually only allowed to have one cache proxy. If the Create button is rejected, the server probably already has a proxy.
Managing Proxies
Several actions are available on each proxy card:
- Info → view details and configuration instructions.
- Clear Cache (broom icon) → clears the cache contents when a resource has changed.
- Delete (trash icon) → deletes the proxy along with its cache on the node.
warning
Deleting the proxy will make players download resources directly from the main server. Make sure the configuration in server.cfg is updated as well.