How to Create a Cache Proxy (Hosting)
This version is for you who use the Game Panel. A cache proxy is created from the CFX → Cache Proxy menu, and the panel will immediately show a ready-to-use server.cfg snippet.
REQUIREMENTS
The CFX Cache Proxy feature must already be active for your server. If the Cache Proxy menu doesn't appear, contact the Technician / Hosting Admin via a ticket.
1. Open the Cache Proxy Menu
- Log in to the Game Panel, then select your FiveM server.
- In the left sidebar, open the CFX group.
- Click the Cache Proxy menu.
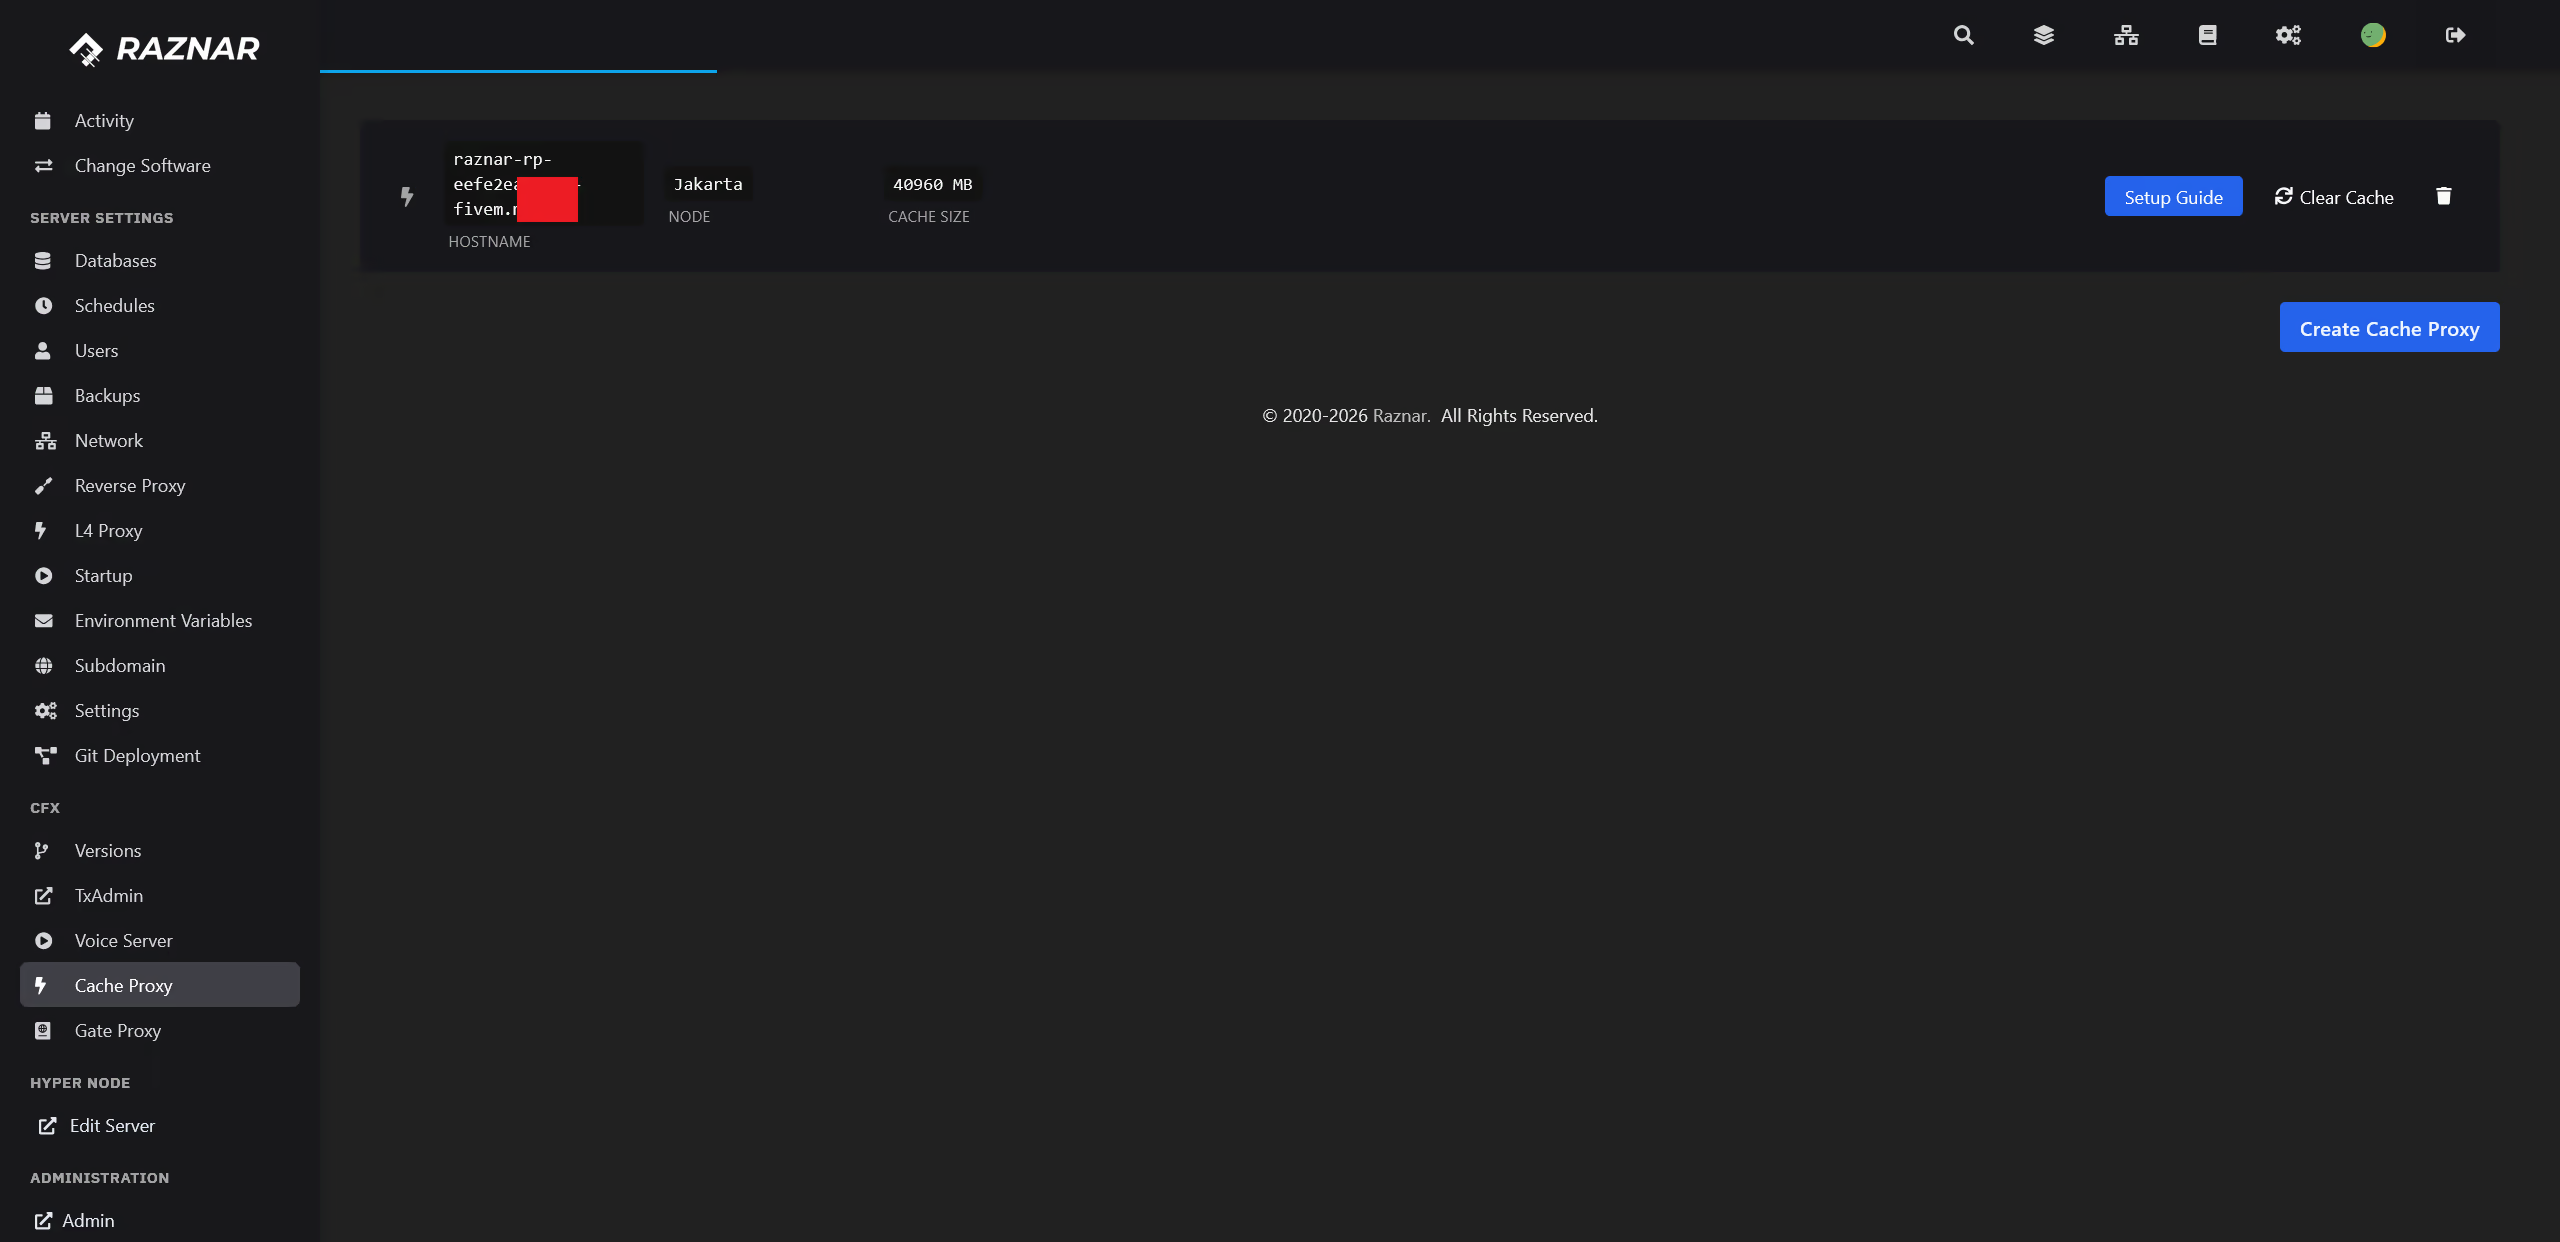
2. Create a Cache Proxy
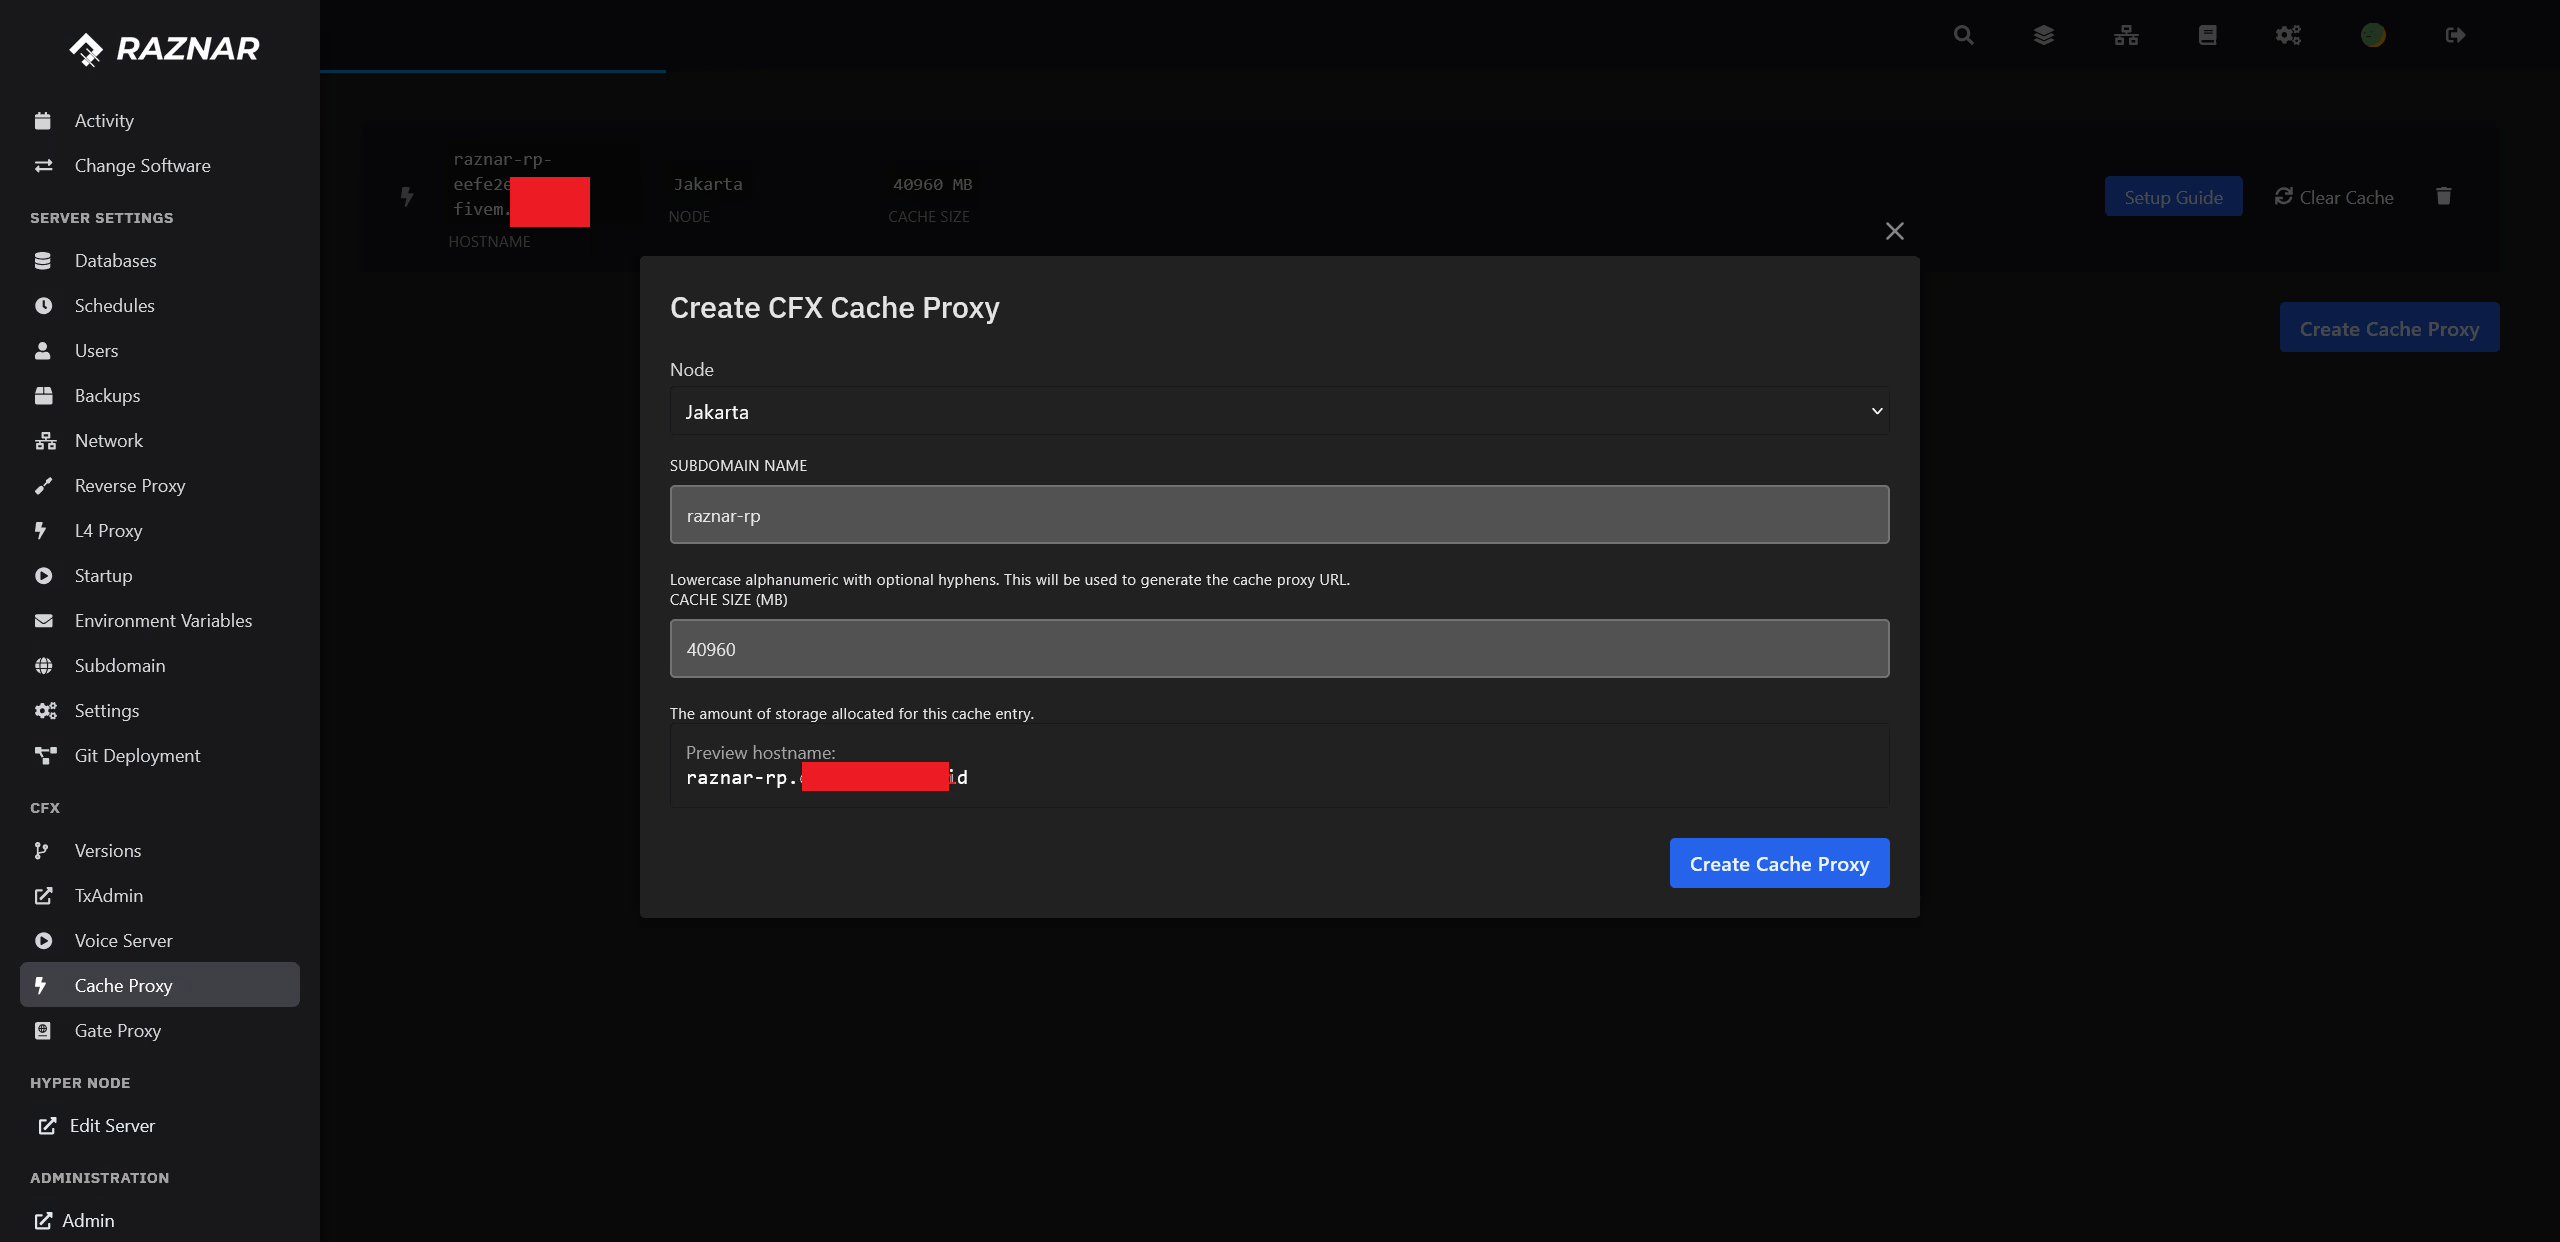
- Click the Create Cache Proxy button.
- Fill in the form that appears:
- Node → choose a proxy node.
- Subdomain Name → a unique name (lowercase letters, numbers, hyphens allowed). The panel shows a Preview hostname.
- Cache Size (MB) → the cache size (default
5120).
- Click Create Cache Proxy.
3. Get the Setup Guide
- Once the proxy appears in the list, click the Setup Guide button.
- Copy the Cache Hostname and the displayed
server.cfgsnippet. - Continue to How to Setup a Cache Proxy.
Managing the Cache Proxy
On each cache proxy row, several actions are available:
- Setup Guide → shows the hostname and the
server.cfgsnippet. - Clear Cache → clears the cache contents when a resource has changed.
- Delete (trash icon) → deletes the cache proxy.
warning
Deleting the cache proxy will make players download resources directly from the main server. Make sure the configuration in server.cfg is also updated.